
The included indoor antenna with the Linxdot Helium Hotspot provides a good “taster” experience into Helium mining, and it is the quickest way to get introduced into the network. When Helium initially launched, the indoor antennas were sufficient for good results, however, the community quickly realised they can significantly improve the performance of their hotspot by installing an outdoor antenna kit. With a large portion of the network going for outdoor setups, it is essential to keep your hotspot’s coverage and visibility on par with the rest of the hotspots around. Alternatively, you might be missing out on as much as 300% of activity.
Hotspots behind walls or windows witness only a fraction of beacons sent, and with only 14 witnesses per beacon, it is essential to improve the visibility of a hotspot in a local area. If, for example, there are 50 hotspots within range, it is a lot more likely for all 14 awarded witnesses to have outdoor antenna kit than an indoor one – simply as a result of the greater signal reception when both beaconers and witnesses are outdoors, with a direct line of sight.
This article lists several good setup options, and the parts involved for building one.
Linxdot offers easy to setup kits that include everything you need:
Outdoor antennas and cables – These cables screw directly into the miner making a simple 2 piece setup – hotspot + cable + antenna. You should be careful with your planning, as you may need a permanently open window, or to drill a wall to get the LMR-400 cable outdoors. Refer to “2. Windows Pass-Through Setup” below if you wish to keep a similar simple setup without a full kit, but also need the cable to pass through a window or a door.
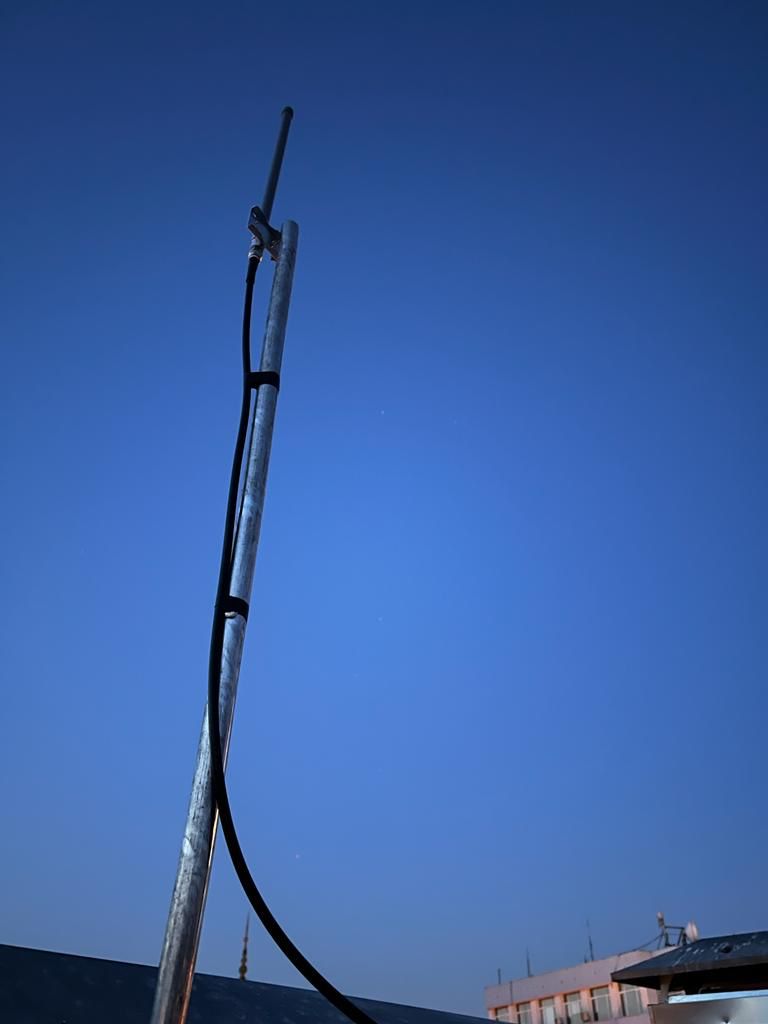
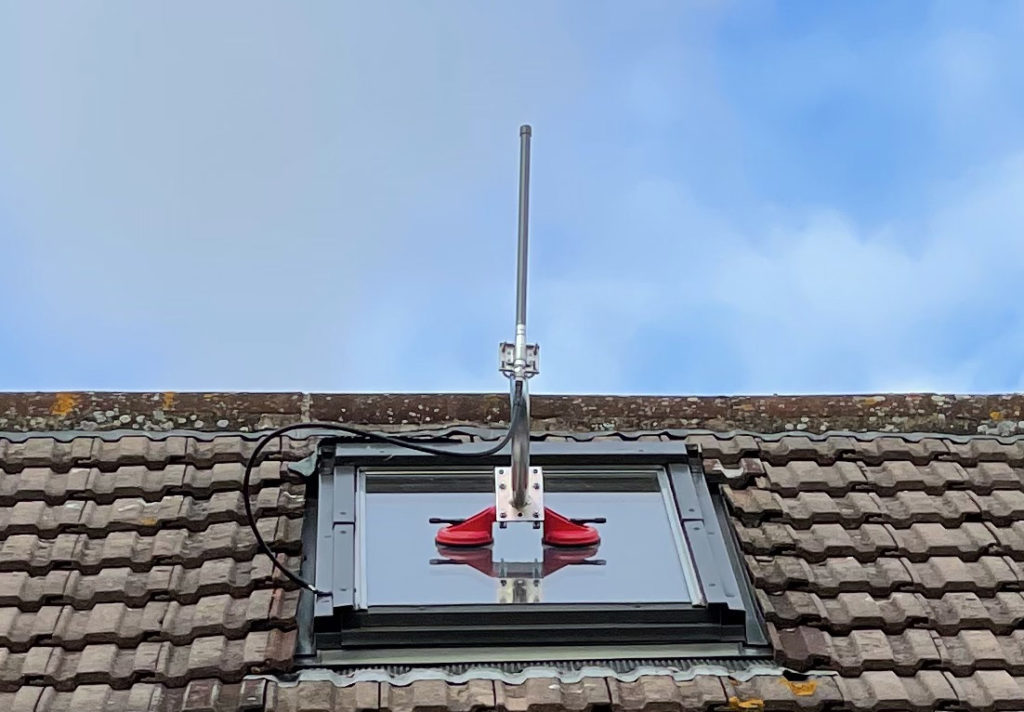
Window mount kits – This kit requires relatively little planning – you will receive all the parts you need to keep the hotspot close to a window indoors, and let the antenna mount directly on the outdoor side of the window by mounting it with a suction cup.
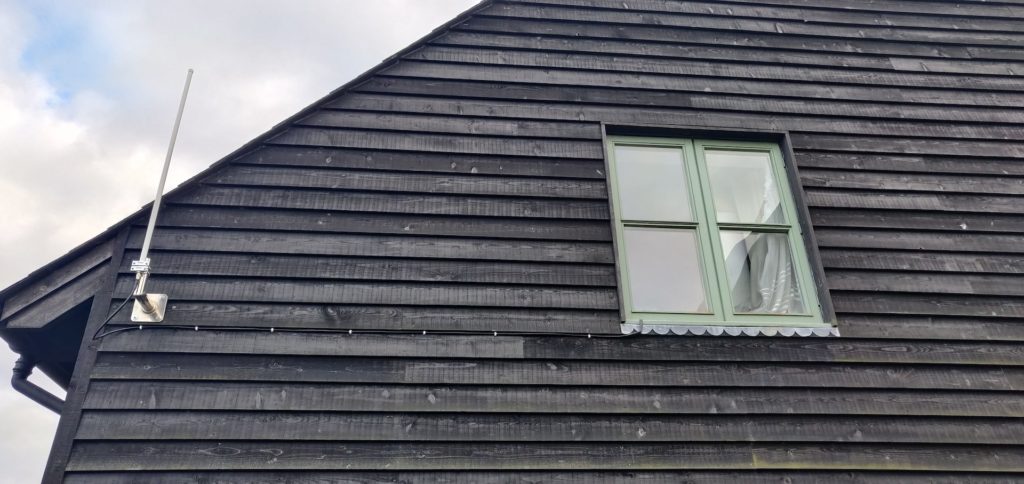
Wall installation kits – With this kit you may need to drill the included metal mount onto a wall, but you can also discard that and mount the included antenna on a metal pole or balcony railings.
Similar to the window mount kits above, this option allows you to upgrade your antenna setup outdoors, whilst retaining your freedom to select your own sizes of cables and pick just the parts you need. With this option, the miner stays inside, it connects to a smaller indoor LMR-400 cable, then to a window pass through cable (for windows or doors), a larger LMR-400 cable that goes on the outside, and finally to the antenna. The setup looks like this:
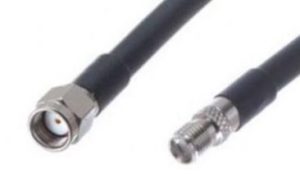
LMR-400 SMA Female – RP SMA Male
Cable from miner to window pass-through. Remains indoors, before the window pass through cable.
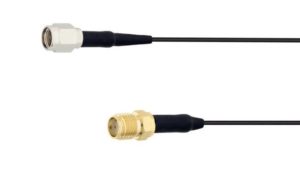
Windows Pass-Through Cable – ULTRA LOW LOSS LMR®-100 20CM (SM-SF)
This cable goes between the door/window.
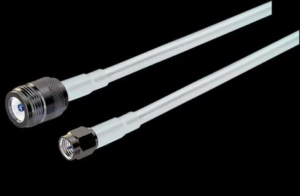
This cable is on the outside, and it connects to the window pass-through cable. Ideally it should be kept below 10 metres length.
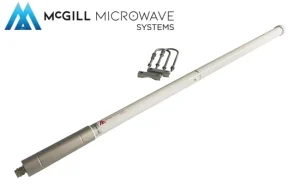
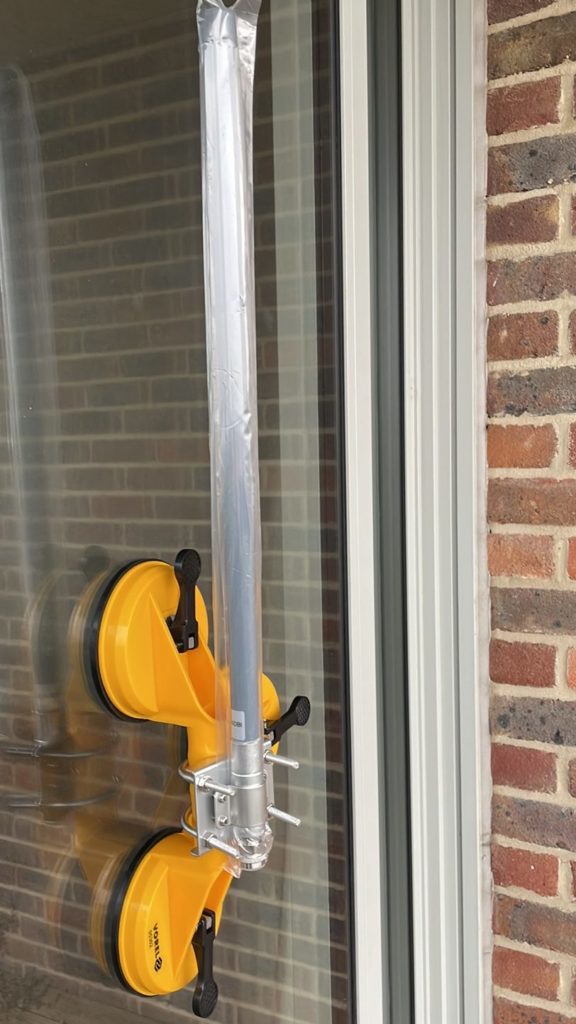
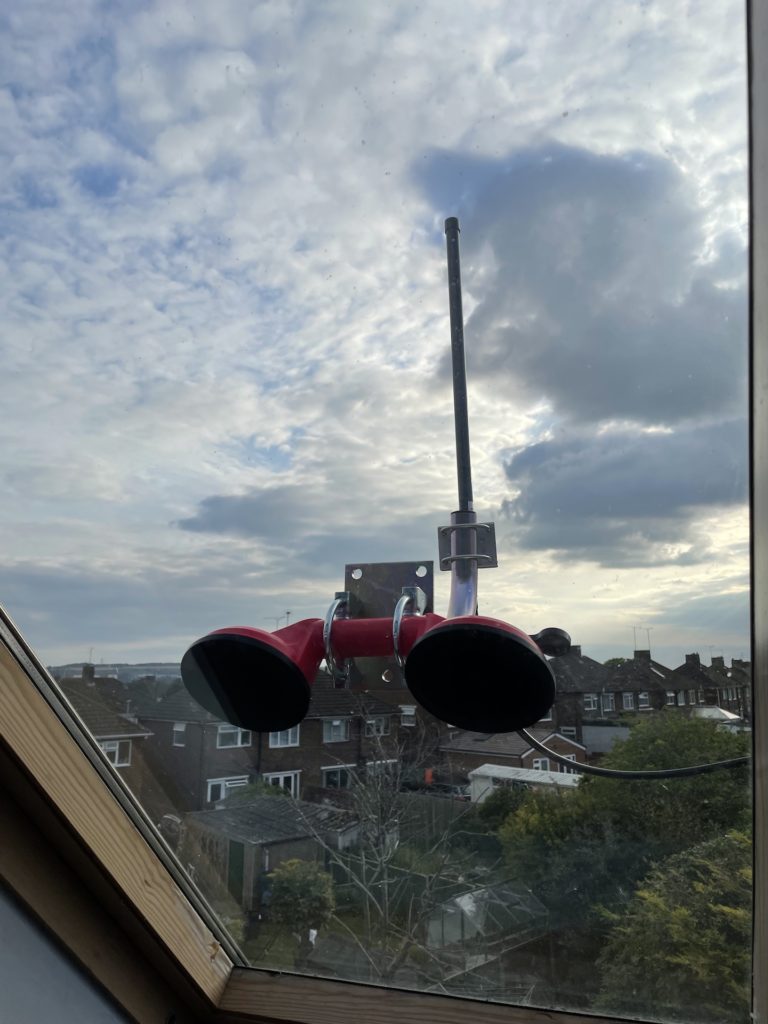
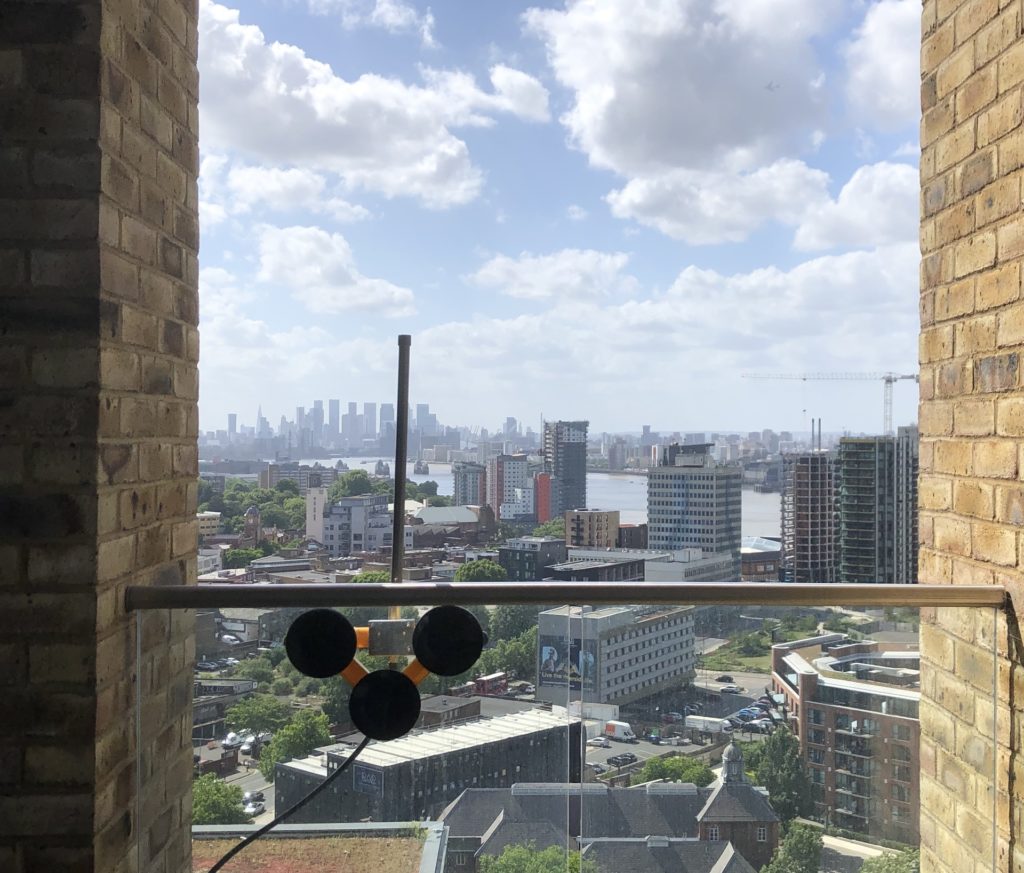
The antenna screws into the N-type port of the LMR-400 cable. It can be mounted either on a pole, balcony railings using the included brackets, or directly onto the handles of a suction pad.
To visualise, this is what all parts connected will look like:
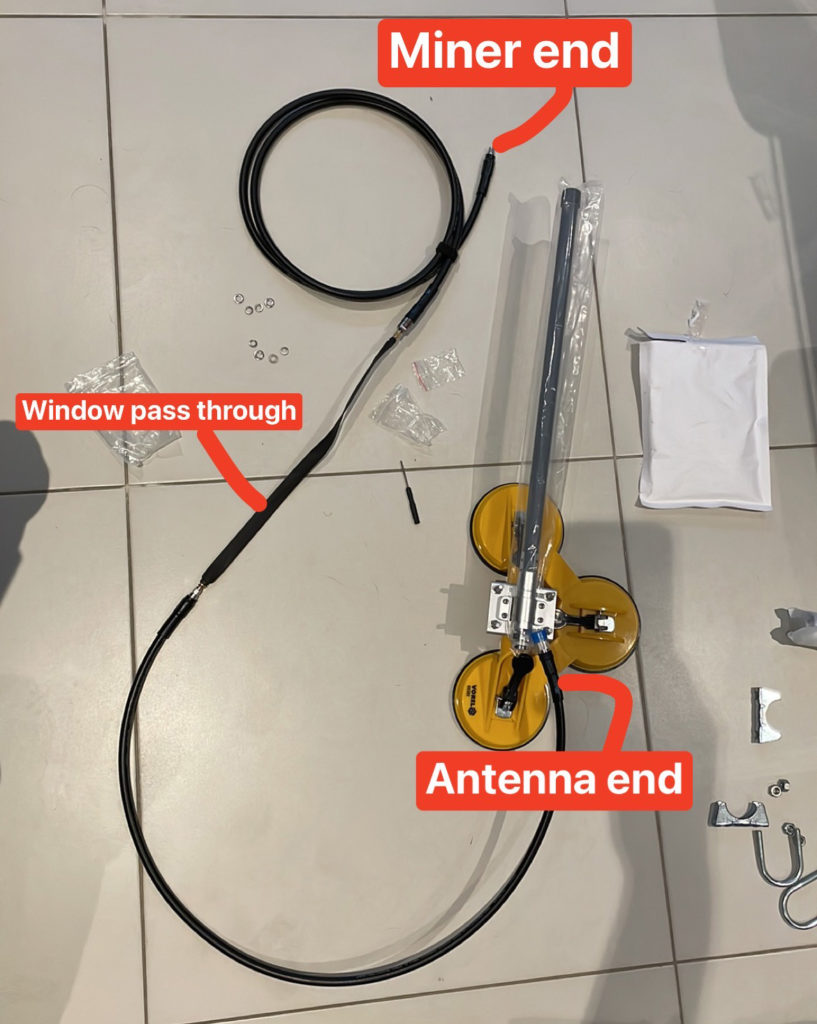
A complete setup looks as shown in the photo. Though, if you have a vertical window sitting at 90 degree angle, it’d be advised to mount the antenna directly on the suction cup’s handle, rather than using the metal pole that comes with some of our kits:

The included indoor antenna with the Linxdot Helium Hotspot provides a good “taster” experience into Helium mining, and it is the quickest way to get
Notice: As we continue to implement more powerful features on the Rockchip dashboard, we believe the safety and security of your Hotspots should remain our
The 1st LED will stay solid green when the device is powered on. The 3rd LED will pulsate red while the device is starting up,
Fill out the form below to
subscribe to our email list.
We also suggest following us on Twitter for our latest updates.
The Linxdot Hotspot is approved for the Helium network. Join the waitlist below to be notified when orders open.
We also suggest following us on Twitter for our latest news and project updates.